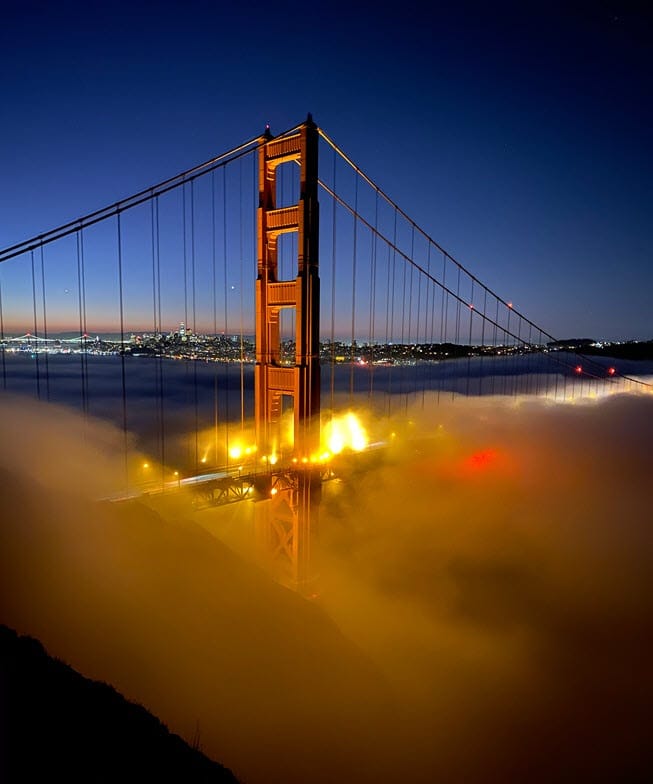
Taking photos at night can be challenging due to low light, which often makes your pictures dark and blurry. Explore the simple editing steps below to enhance the quality of your nighttime photos on iPhone without downloading additional apps. With this formula, you can achieve sharp and stunning photos even when shooting at night.
Guide to Editing Night Photos on iPhone
To enhance and improve the quality of nighttime photos, you only need to adjust a few settings available in the iPhone’s Photos app. This process is very convenient, as iPhone comes with built-in editing tools, eliminating the need to install any additional apps.
Các bước thực hiện:
- Step 1: Open the Photos app on your iPhone and select the nighttime photo you want to edit.
- Step 2: Tap Edit in the top-right corner → Select the adjustment options displayed at the bottom of the screen.
- Step 3: Apply the following settings to make your photo sharper and clearer:
- Exposure: 13
- Highlights: -3
- Brightness: 23
- Contrast: -26
- Highlights: 31
- Saturation: 33
- Saturation: 8
- Vibrance: 42
- Warmth -72
- Tint: 8
- Sharpness: 8
Note: If you prefer automatic editing, simply select Auto, and iPhone will optimize your photo automatically with suitable settings. Additionally, since each photo has different lighting conditions, you can adjust the settings further to achieve the best results.
- Step 4: Tap Done to save the changes once you’ve finished.
Using Night Mode
From iPhone 11 onward, Apple has integrated Night Mode, allowing you to capture beautiful and sharp photos in low-light conditions. This mode activates automatically when shooting in dim environments, reducing noise and enhancing details without the need for additional apps.

Notes when using night mode:
- Night Mode only supports the Wide 1x or Telephoto 2x lenses and is not available for the Ultra Wide 0.5x lens.
- Ensure there is minimal light, as this mode cannot capture photos in complete darkness.
- Keep the phone steady during the shot. To avoid shaking and ensure sharpness, place the phone on a stable surface or use a tripod.
How to enable night mode:
- Step 1: Open the Camera app and tap the moon icon in the top-left corner to activate Night Mode (the icon will turn yellow when enabled).
- Step 2: A slider will appear, showing the required exposure time (e.g., 1 second, 3 seconds, etc.). You can adjust this time by sliding to the right to increase or to the left to decrease the exposure time.
- Step 3: Tap the Shutter button once you’re done setting it up.
Reduce Exposure
To address noise and clarify dark areas, you can reduce the exposure in the Camera app when shooting at night. This helps limit overexposure and makes the photo smoother, especially for details in shadowed areas.
How to Reduce Exposure
- Step 1: Tap and hold on the area of the photo you want to focus on to lock the focus point.
- Step 2: Drag the Sun icon downward to darken the photo, then tap the Shutter button once you’re satisfied with the image.
With these simple editing steps, you can create beautiful and sharp photos using your iPhone, even in low-light conditions, without needing any additional apps. Wishing you success!

